Inline 3D Measuring
One platform - many solutions
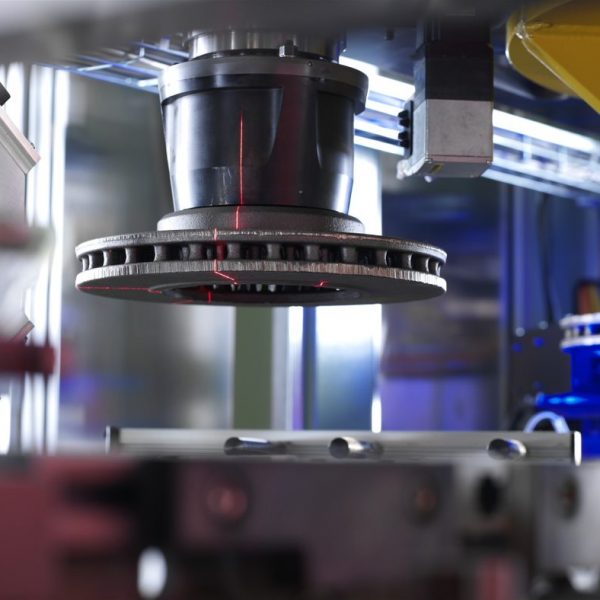
During the surface inspection, the corresponding parts are measured and sorted for flatness, surface, geometry and completeness with the same sensor. The inspection heads developed by us on the basis of 3D laser triangulation offer an optimum of scanning speed (approx. 20 m/min for components with a width of approx. 250 mm), all-round imaging without shadowing even of complex components through the use of multiple inspection heads with several lasers and cameras and our know-how in the field of intrinsic and extrinsic calibration. Raw parts with tolerances of 0.1 mm, for example, can be measured inline with 100% capability and simultaneously checked for surface defects of 0.2 mm.
The advantages of inline 3D measuring
Höchste Qualität
Zeit- und Kostenersparnis
Langjährige Kompetenz
You want to make your production more efficient through automation?
Then contact us to find specific solutions for your company.
Applications
The generation of high-resolution scan data of the entire component volume allows a wide variety of diameter, width, height and length measurements individually or relative to each other. Subsequent machining steps of raw parts can be taken into account so that you can check dimensions explicitly in relation to the clamping and machining situation. Thus, successively reduce the safety margins that you would need for production without 100% inline measurement. Use the significantly high statistical significance of the measured values not only for reliable sorting of components outside the permitted tolerance, but also for optimising your production.
Examples of applications that have already been realised: Cast and investment cast parts, forged parts, stamped and fineblanked parts and many more.
The possible surfaces are numerous: matt to shiny, rough to smooth, raw to machined, natural to lacquered.

More solutions
Processing
Handling
Robot Vision
Mobile Robotics
- Automated Machine Loading and Unloading
- Palletizing and Depalletizing
- Testing
