Flatness Inspection
Flatness light-section-based flatness inspection checks flat parts for flatness precisely, quickly, and cost-effectively. Values are achieved in both, cycle time and measurement accuracy, that are unattainable with other methods.
Advantages
In comparison to flatness inspection with mechanical drop gauges still commonly used today, our innovative flatness inspection system offers numerous key benefits:
Maximum precision:
Flatness deviations of stamped parts can have specified tolerances as low as 0.1 mm. The laser light section flatness inspection sets new standards in this regard with reliable, verifiable precision.
Contactless flatness inspection:
Unlike drop gauges, this method of inspecting stamped parts for flatness is contactless. Damage such as nicks or scratches which can be created during mechanical flatness inspections are thus reliably avoided.

Advantages
Process reliability:
Mechanical flatness inspection is often prone to interference and causes expensive downtime. Our laser light section inspection measures the parts directly in the process and thus completely precludes any interference.
Low costs:
The system can be integrated into your existing infrastructure quickly and easily. Transporting the parts to and from the location is eliminated, since exact measuring can be performed directly in the process.
High throughput:
We would be happy to inform you personally about the unrivalled high speed and throughput values which can be achieved by flatness inspection using laser capture. Talk to our experts.
You want to make your production more efficient through automation?
Contact us to find individually tailored solutions for your operation.
This is how the flatness inspection works
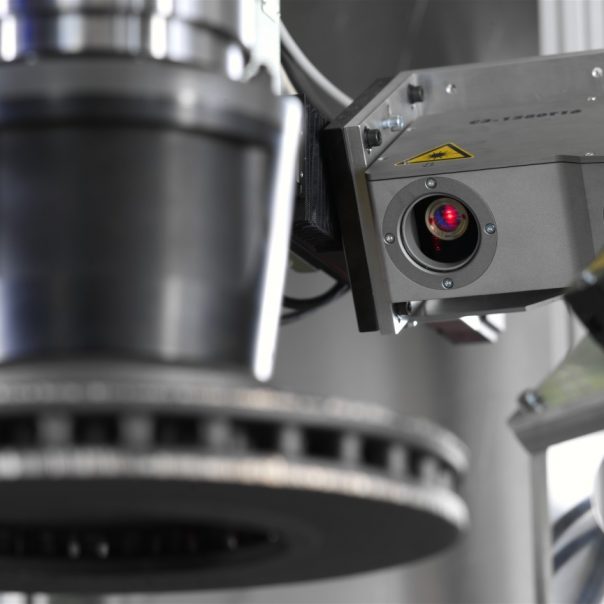
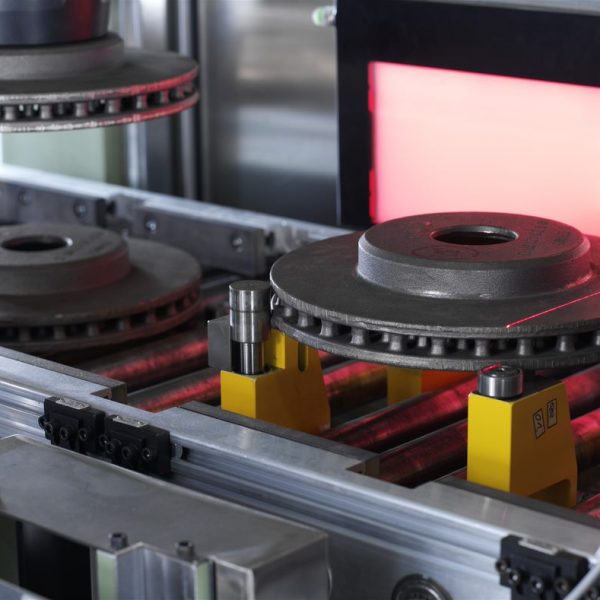
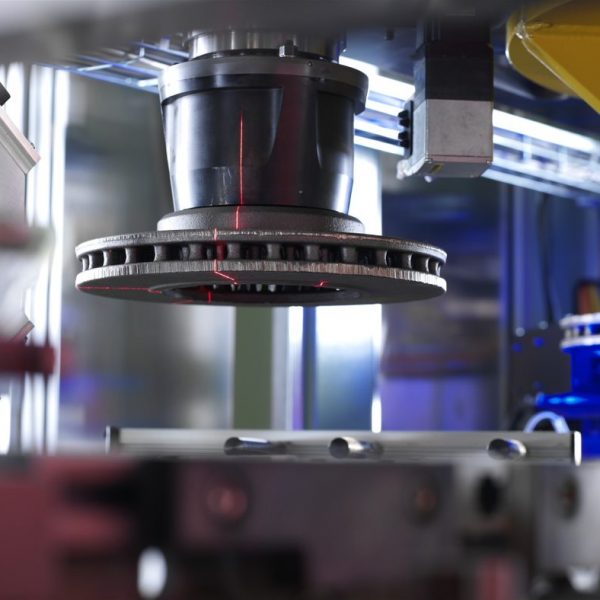
Several laser lines are projected onto the part to be inspected – for which flatness is critical – while it is transported past the measuring station. Two cameras record these lines. The image processing software almost instantaneously converts the line tracks into precise flatness values over the entire surface of the test part. The exposure time is reduced by using multiple lines, making the system immune to vibrations of the part on the conveyor.


Applications
In principle, all sufficiently matte (i.e. not polished) flat components can be inspected. Thanks to the low system costs, high performance values and increased process reliability, economical use of contactless, optical flatness inspection is by no means limited only to parts where high levels of precision are required. We will gladly send you detailed information or provide a demonstration of the innovative flatness inspection system upon request.
More solutions
Processing
Handling
Robot Vision
Mobile Robotics
- Automated Machine Loading and Unloading
- Palletizing and Depalletizing
- Testing
